A test blueprint (also called a test specification or test matrix) is a small table that decides, before you write or pick a single question, how many questions each topic gets and at what level of difficulty. It is the simplest way to make a test cover what you taught, keep two versions equally hard, and explain a grade to a parent. This article builds a 20-question unit test step by step. The method works on paper or in a spreadsheet, and the last section shows the same test built from a question bank in ClassQR.
Step 1: List the topics and weigh them by teaching time
Write down the topics the test covers and roughly how much class time each one took. A topic that took a third of the unit should get about a third of the questions. Our example is a Grade 8 math unit with four topics:
| Topic | Lessons spent | Share | Questions (of 20) |
|---|---|---|---|
| Linear equations | 3 | 25% | 5 |
| Linear functions and slope | 4 | 30% | 6 |
| Systems of equations | 3 | 25% | 5 |
| Exponents | 2 | 20% | 4 |
Round to whole questions and check that the total is still 20.
Step 2: Choose the levels and the mix
Levels describe what a question asks students to do, not how long it is. Three levels are enough for most classroom tests:
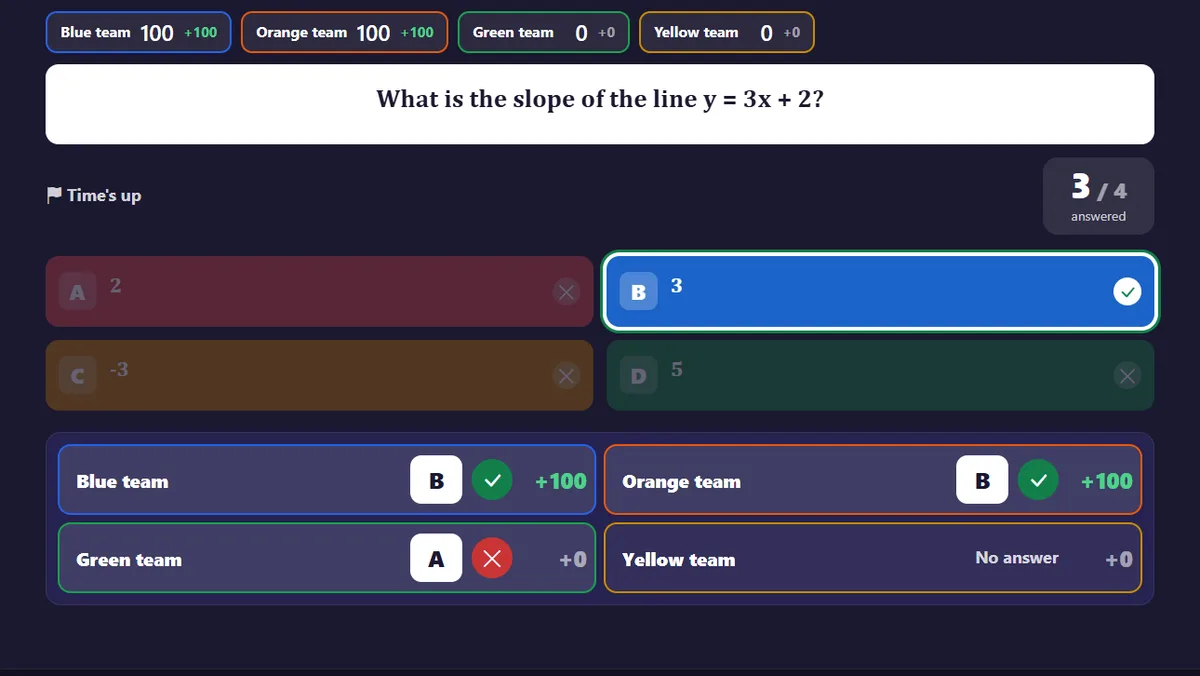
- Recognition: recall a fact or a rule. "What is the slope of y = 3x + 2?"
- Comprehension: apply a rule in a familiar way. "A line passes through (0, 1) and (2, 5). What is its slope?"
- Application: use the idea in a new situation, usually a word problem. "A tank holds 300 L and drains 12 L per minute. When is it empty?"
A balanced unit test often lands near one third at each level. Shift toward Recognition for a quick check-in and toward Application for an end-of-term test.
Step 3: Fill the grid
Now split each topic's questions across the levels. This grid is the blueprint:
| Topic | Recognition | Comprehension | Application | Total |
|---|---|---|---|---|
| Linear equations | 2 | 2 | 1 | 5 |
| Linear functions and slope | 2 | 2 | 2 | 6 |
| Systems of equations | 1 | 2 | 2 | 5 |
| Exponents | 2 | 1 | 1 | 4 |
| Total | 7 | 7 | 6 | 20 |
Read the totals row and column before moving on. If Application is only two questions, the test cannot tell you whether students can use what they learned. If one topic has no Application cell at all, ask whether that is a choice or an accident.
Step 4: Have more questions than cells
For each cell, keep two to three times as many questions as the blueprint asks for. With spares you can make a second version for a student who was absent, or shuffled versions for a crowded room, and both versions stay just as hard because every question comes from the same cell.
Step 5: Set time and points
For multiple choice, about two minutes per question is a comfortable pace for Grade 8, so 20 questions fit into 45 minutes with time to check. One point per question keeps the arithmetic simple. If Application questions take much longer, give them more points and say so on the paper.
Building the same test in ClassQR
In ClassQR the blueprint is not a separate document: the question bank is already a grid of topics by levels, and a test is drawn from it cell by cell.
- Fill the question bank. Under Library > Questions, a bank shows how many questions each topic has at each level. You can import questions from Word into a topic row, or create them one by one. Our example bank has nine questions per topic, three at each level.
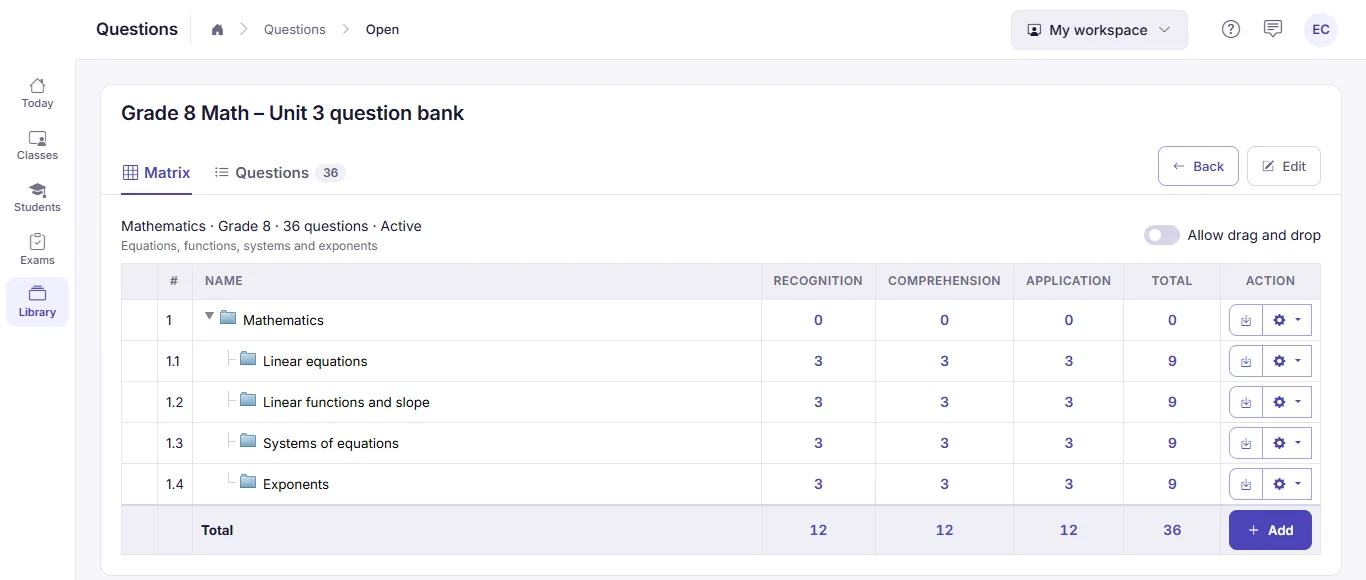
The bank is the grid: 4 topics, 3 levels, 36 questions.
- Create a test from the bank. Go to Library > Tests > Create > Create exam from question bank, set the duration, and click Select questions. Type the blueprint into the grid. Each cell shows how many questions are available ("/3"), and the totals update as you type.
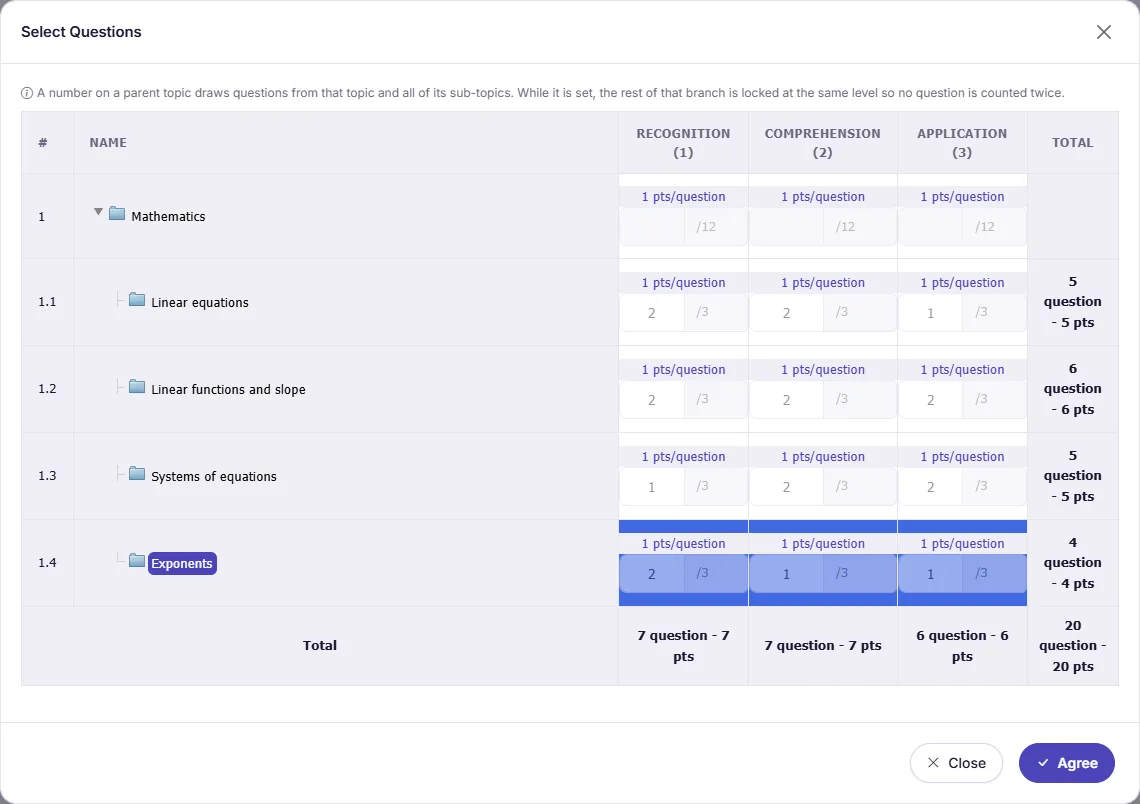
The blueprint from Step 3, typed into the Select questions grid: 20 questions, 20 points.
- Generate the versions. Click Continue, give the test a name, and choose the number of exams and the number of permutations. Each exam draws its own questions from the cells; each permutation is a shuffled version of an exam with its own code (001, 002, ...). When you make more than one exam, ClassQR first tries to give each exam different questions and reuses a question only when a cell runs short.
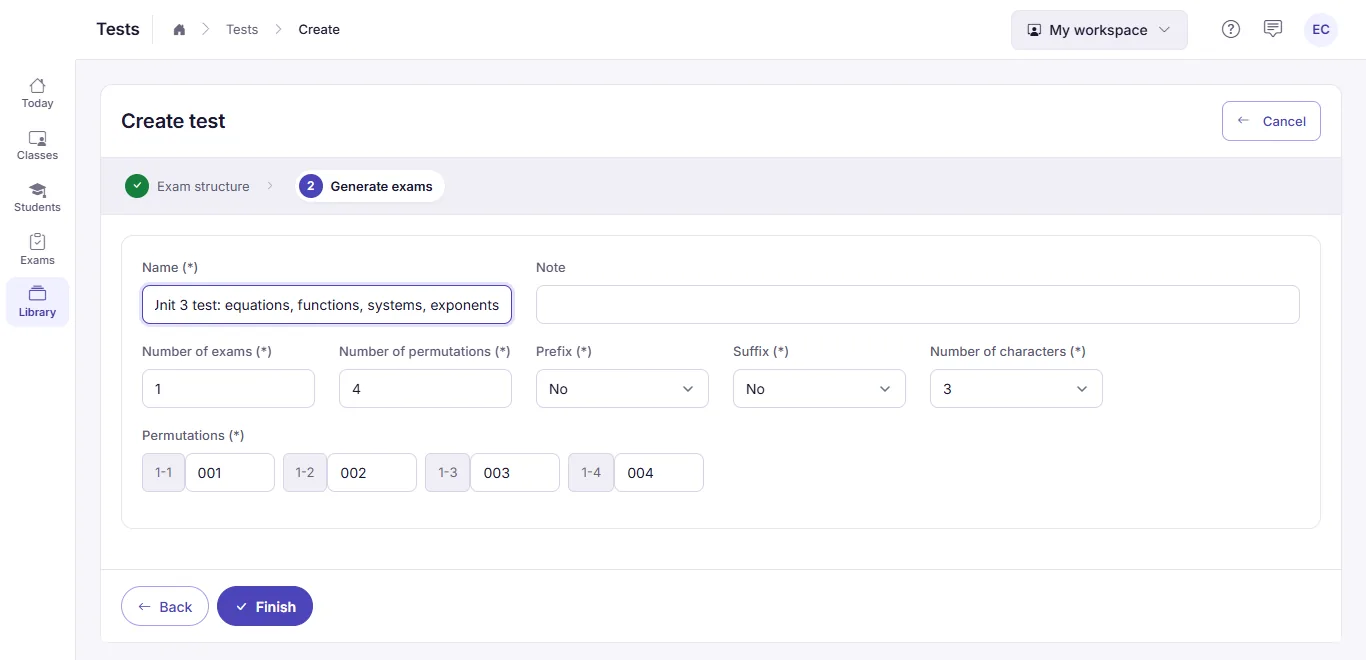
One exam, four shuffled versions with codes 001 to 004.
- Use it. The test appears in your library with its question count, duration and versions. Add it to a lesson or an exam, or open it and use Download to get a Word file for printing.
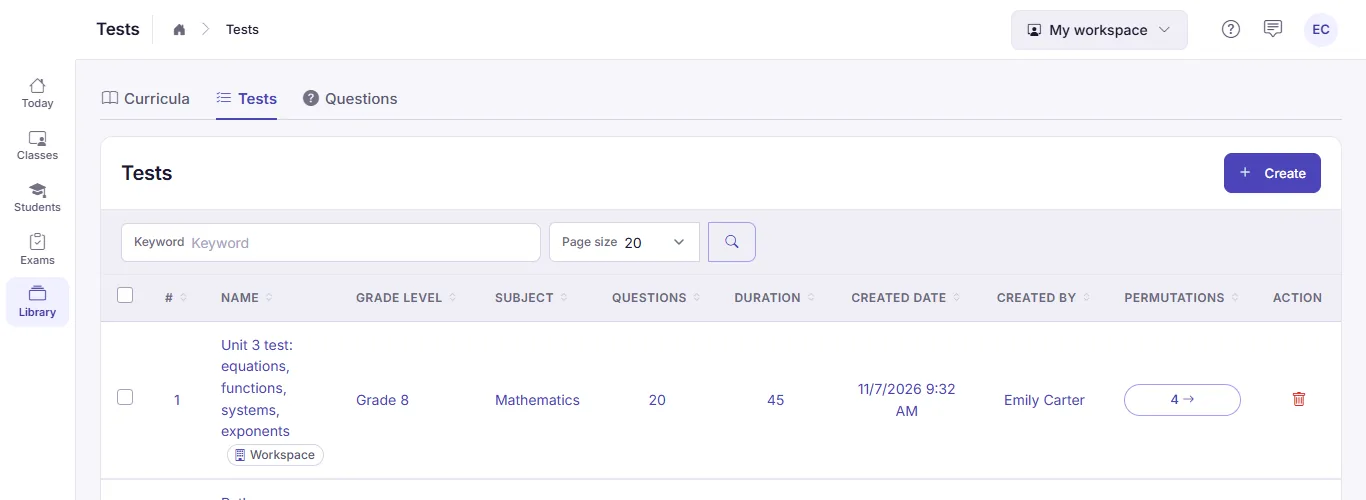
The finished test: 20 questions, 45 minutes, 4 versions.
Next term, Save exam structure keeps the blueprint itself. Choose it again and the new test follows the same grid with freshly drawn questions.
If you would rather describe the test in a sentence and have the blueprint drafted for you, see AI test generation.